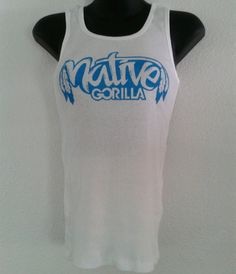
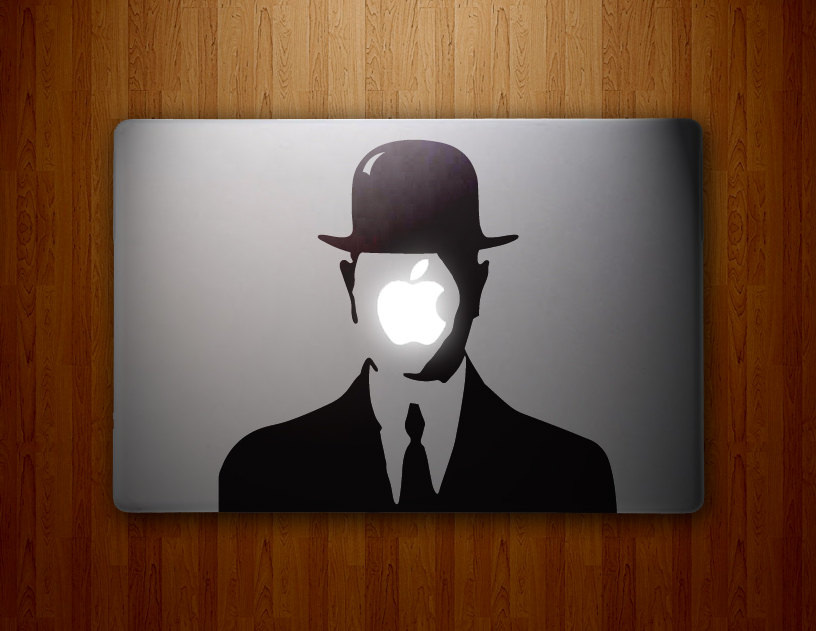
Learning Objectives
-Create a new and unique art work
-Transfer design concepts from stencil creation to current workforce technology
-Incorporate vector techniques in Adobe Illustrator
-Create a tangible sticker or garment as a professional sign maker or a fashion designer would
-Create a new and unique art work
-Transfer design concepts from stencil creation to current workforce technology
-Incorporate vector techniques in Adobe Illustrator
-Create a tangible sticker or garment as a professional sign maker or a fashion designer would
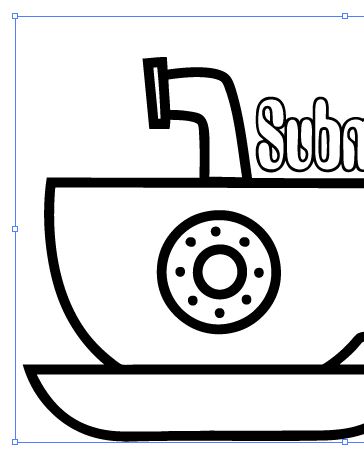
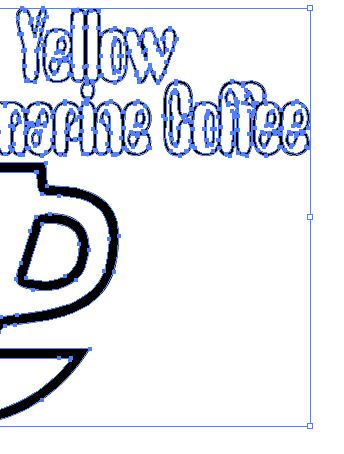
Plotter stepsMake image black and white (no grey or shades) in Photoshop
Save as psd 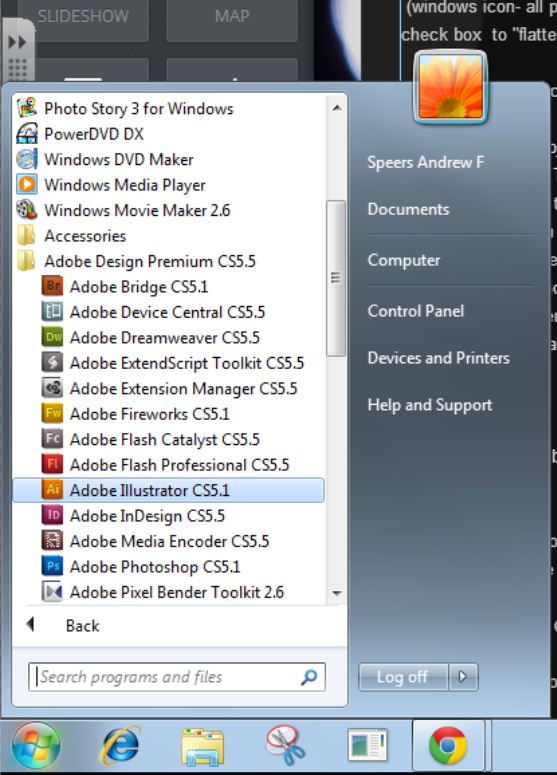
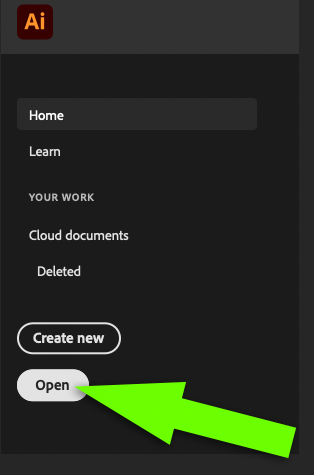
Open your PSD or JPG file in Illustrator
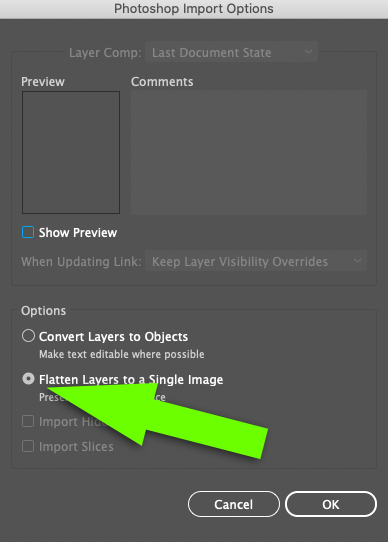
Click to flatten to a single layer.
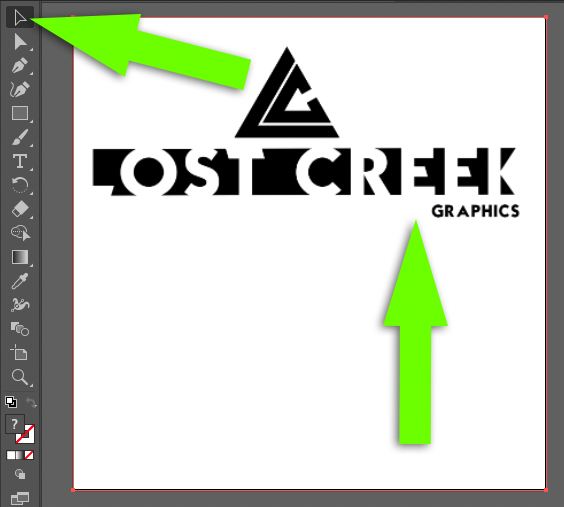
Use the select tool and click anywhere on your design.
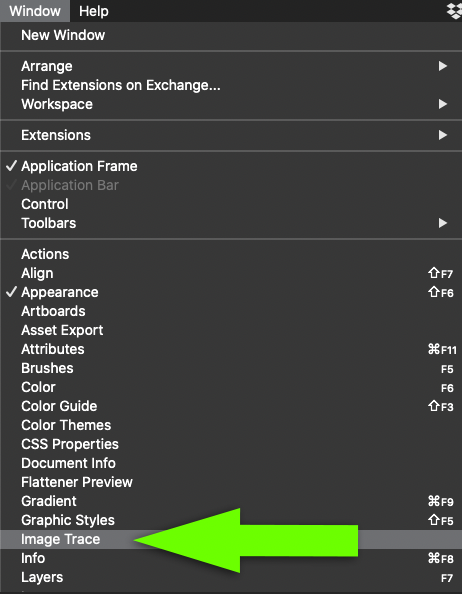
Open the image trace Window.
Check the Ignore white box and then hit Trace button.

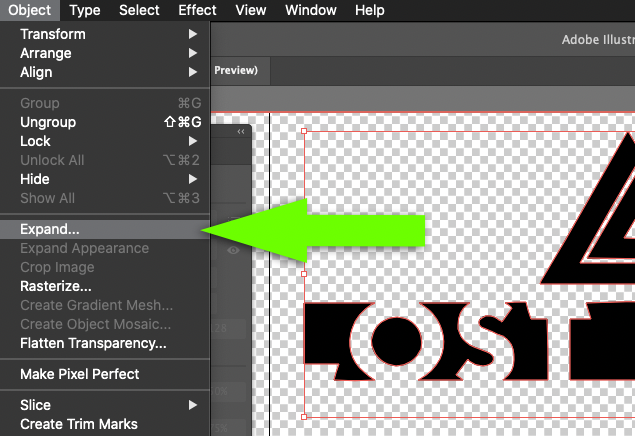
Click Expand under the Object pull down menu
Save as EPS
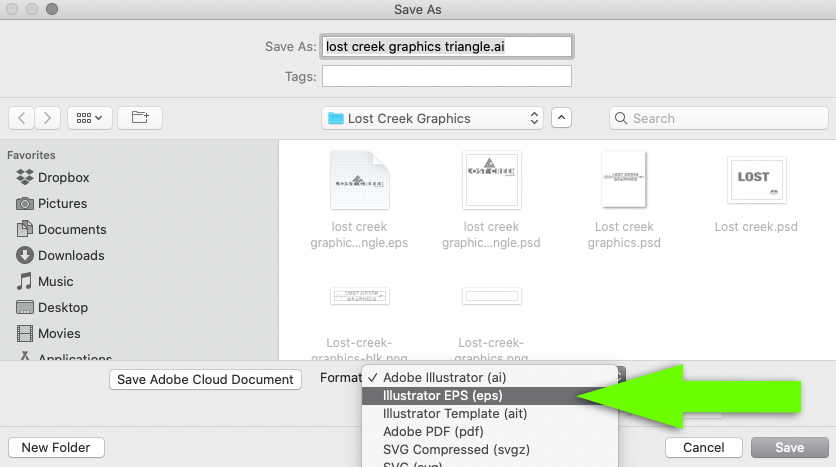
In the save dialog box pull down version illustrator 8
-click okay to the any warnings 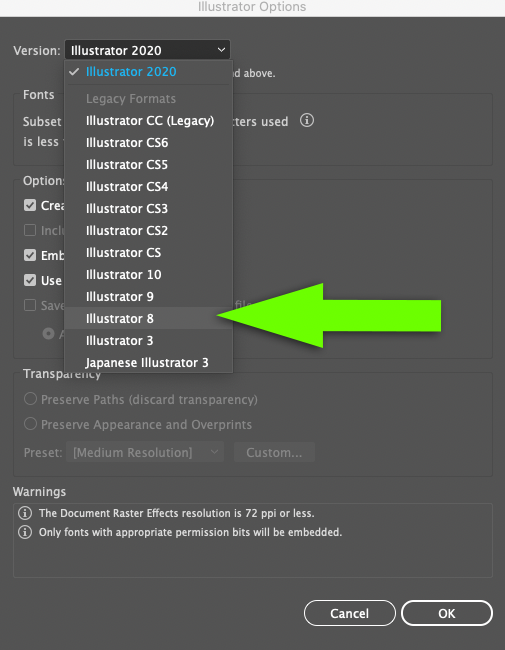
Go to a computer connected to a plotter
In Roland Cut studio (windows icon- all programs- Roland Folder- Cut Studio) Click (import) -pull down the "illustrator file of type" option -find your file - save as a .cst file Click File -Cutting set up -properties -select inches -set the inches to the length you need (be reasonable) To set the size of your image go to (object) -click keep aspect -input size If making a t-shirt (if making a sticker skip this step) -click (object) -click Mirror When everything is perfect load the plotter with your choice of vinyl, turn it on, and click “Cutting” |

|